If you have the more recent Outlook through Microsoft 365 please follow this guide.
If you have an existing email account setup with your Outlook 2013/2016 follow this step, otherwise continue at Step 3.
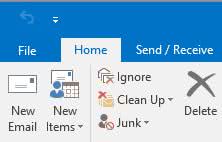
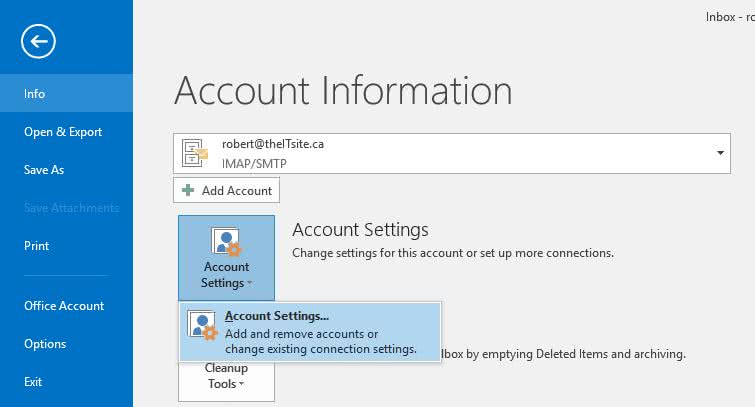
Open your Outlook 2013/2016 and click on the File button and click on Account Settings -> Account Settings:
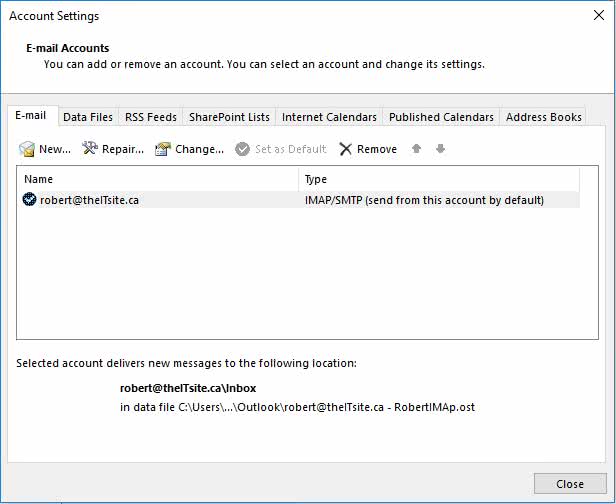
In the new Account Settings window, under the E-mail tab click on New:
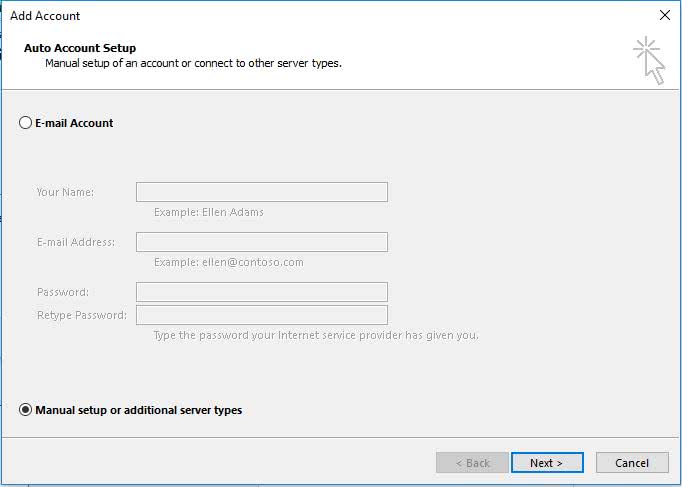
The Add New Account Wizard will start up, on the new window click on Manually configure server settings or additional server types and then click on Next:
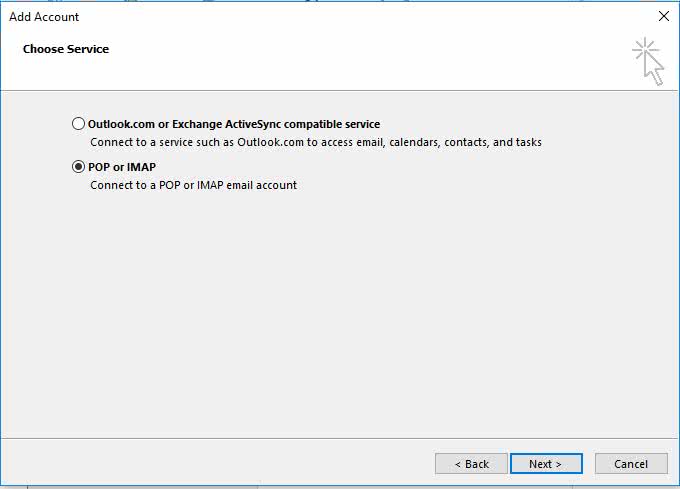
Select the second option POP or IMAP and click on Next:
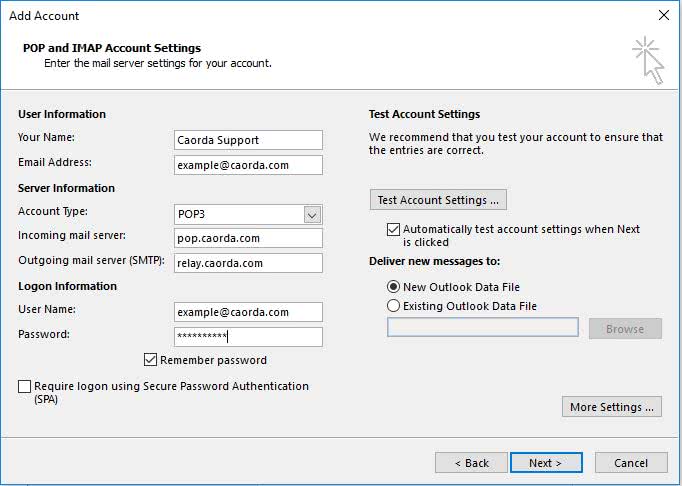
Fill in all the information below in, replace the email address and name to fit your own details.
Your Name: Name displayed to people in your email
E-mail Address: Your E-Mail address
Incoming mail server: pop.caorda.com
Outgoing mail server (SMTP): relay.caorda.com
User Name: Your Full Email Address
Password: Your Password
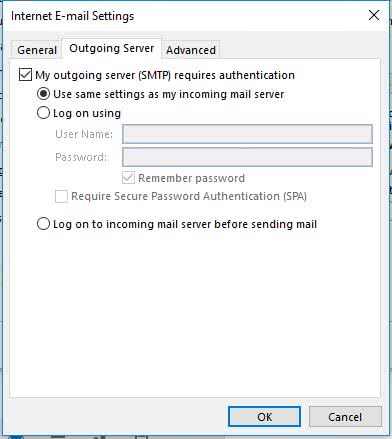
Click on More Settings … and a new window will appear. Select the 2nd tab Outgoing Server and make sure the checkmark is checked and the first option “Use same settings as my incoming mail server” is set:
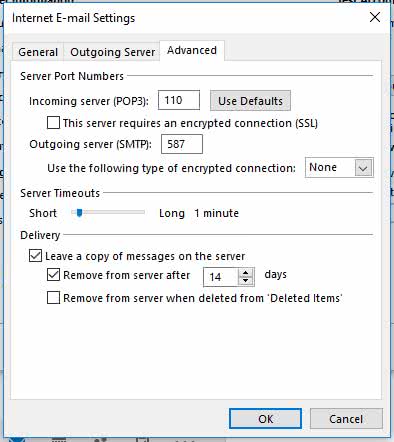
Select the 4th Tab “Advanced” and confirm that the Outgoing server (SMTP) is set to 587:
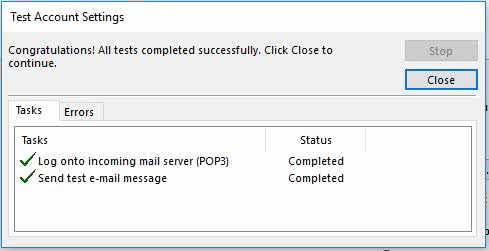
Click OK, Next, and then you see the system test your settings, if all is good click on Close:
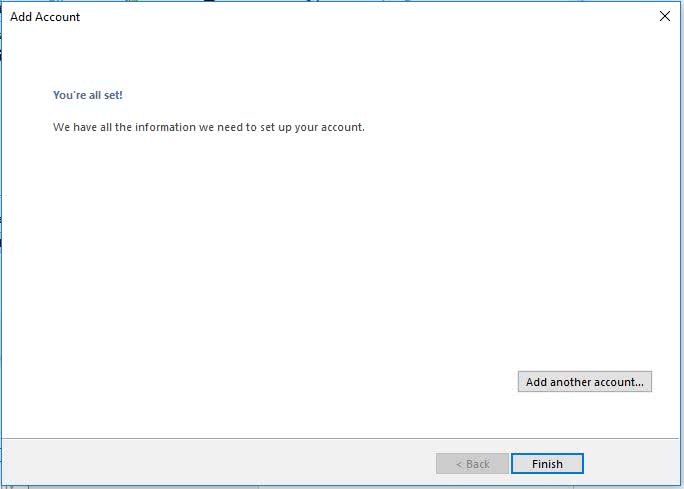
Congratulations! you have setup your new email account:
If you have any challenges or questions please don’t hesitate to contact us