The following steps will guide you at setting up your Caorda hosted email on your Android device using the IMAP configuration method.
This guide was created using Android 12, newer or older devices may not show the same windows. Feel free to reach out to Caorda Support for any help.
- Access the Settings section of your Android device

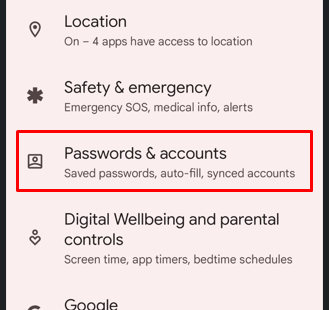
- With the Settings app open, scroll down and tap on “Passwords & accounts”
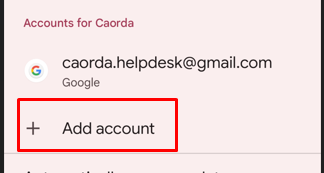
- Under the Accounts for… section tap on Add account
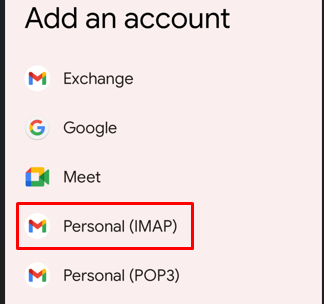
- Select Personal (IMAP) as the account type
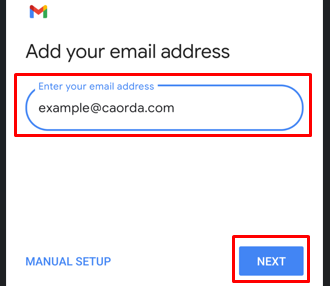
- Enter your email address here and tap on NEXT
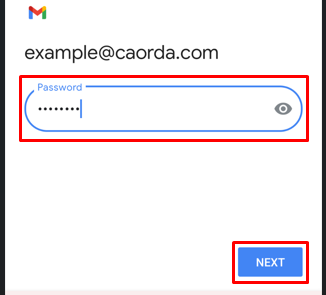
- Enter your password and tap on NEXT
- The Incoming server settings should be auto filled, there is one section that needs to be updated. Update the Server to be imap.caorda.com and tap on NEXT
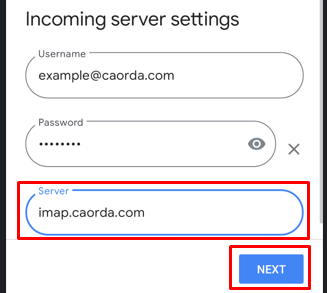
- Server: imap.caorda.com
- Server: imap.caorda.com
- Similar to the incoming server, the outgoing server settings have been auto filled. Update the SMTP server to be relay.caorda.com and tap on NEXT
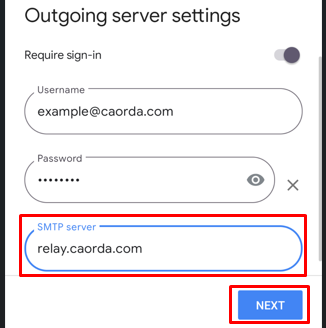
- SMTP server: relay.caorda.com
- SMTP server: relay.caorda.com
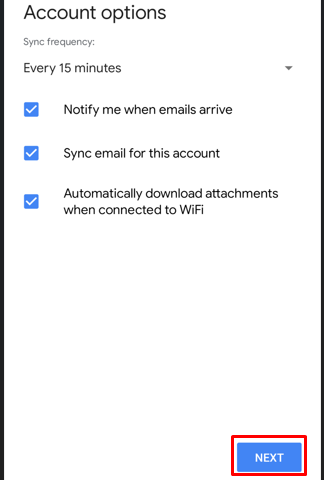
- The Account Options screen will now be shown, you can accept all the defaults and tap on NEXT
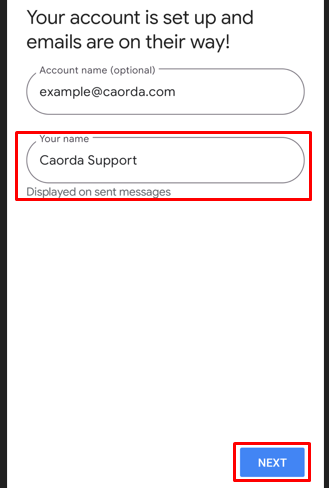
- As a final step you can now name your account (this does not affect the email service) and to enter your name (this is what is displayed to people you email.) Once done tap on NEXT
- Tapping NEXT will close the window and drop you back to the main screen. Congratulations, you have setup the account and can now access the emails under the GMAIL app