Follow these steps below to setup your mailbox using the POP system.
These steps are only for Outlook 365 on a Mac, we have a different guide for Outlook on Windows.
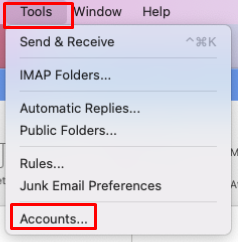
- Open your Outlook 365 and click on the Tools menu item and then click on Account…
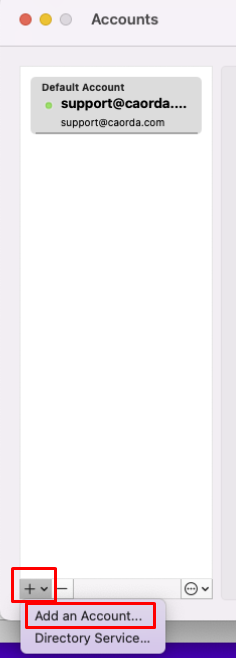
- The Outlook Accounts window will open, click on the + drop down and click on Add an Account…
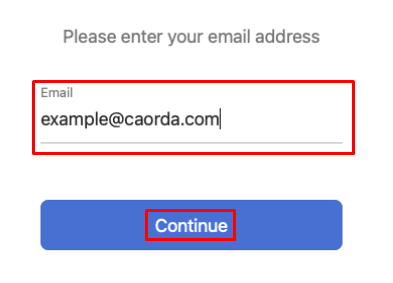
- The Outlook account setup steps will start. Begin with entering your email address and clicking on Continue
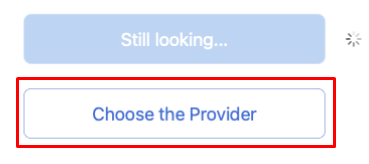
- Outlook will try to identify all the settings and configurations, if it cannot simply click on the “Choose the Provider” option
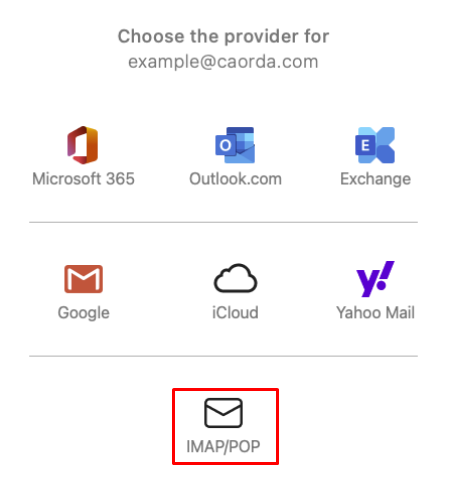
- From the provider list click on the IMAP/POP option
- The IMAP/POP configuration window will appear, enter all the details needed
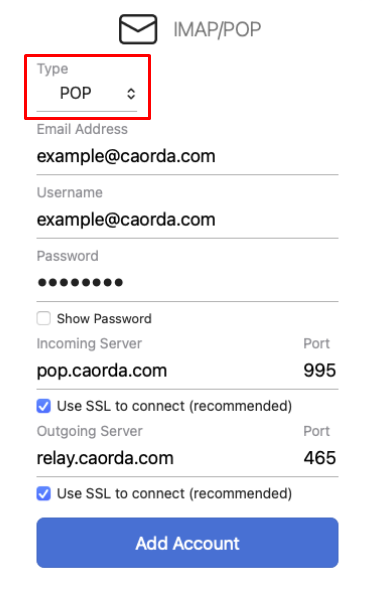
- Confirm that the following has been entered and click on Add Account
- Type: POP
- Email Address: Your email address
- Username: Your email address
- Password: Your password
- Incoming Server: pop.caorda.com
- Incoming Server Port: 995
- Incoming Server “Use SSL to connect”: checked
- Outgoing Server: relay.caorda.com
- Outgoing Server Port: 465
- Outgoing Server “Use SSL to connect”: checked
- Confirm that the following has been entered and click on Add Account
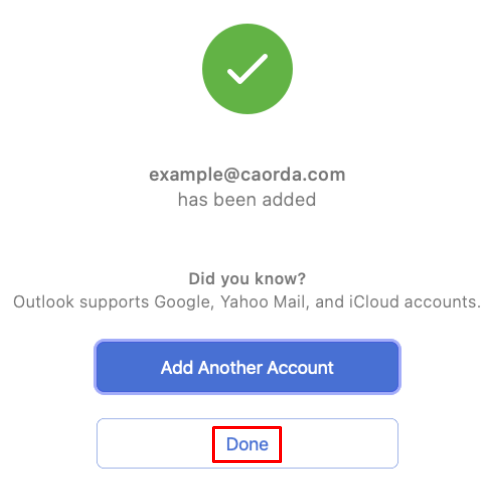
- If all was entered properly you will be shown the successfully added window. Click on Done
